Rebuilding the Shuttle Transmission
|
When I bought this I knew there was going to be some problems. When I got it, the Case climbed onto the trailer in 1st. When I moved it, I used it in 1st or 2nd. This week for the snow I used it to pull a 18 wheeler out of the neighbor's yard. I used 1st. Cleaning snow up I finally got to put it in 3rd gear. That's is were the problem started. The Case just wouldn't go. By the time I got to it back to the house I only had reverse.
|
How the Shuttle Transmission works
A Case 580C has a shuttle transmission and a four speed gear box that is part of the rear axle. The shuttle is use to choose forward or reverse by a machinal input that rotates a solenoid. Its ports hydraulic fluid and when the solenoid get power, it will port fluid to return and is the same as putting it in neutral. This is control by a switch on the floor or by the brake switch with the by switch. The later allows the driver to have the brake act the same as the floor switch when the brake is applied or to keep it in gear. This is useful to leave it in gear for hills. |

Removing the Shuttle Transmission
|
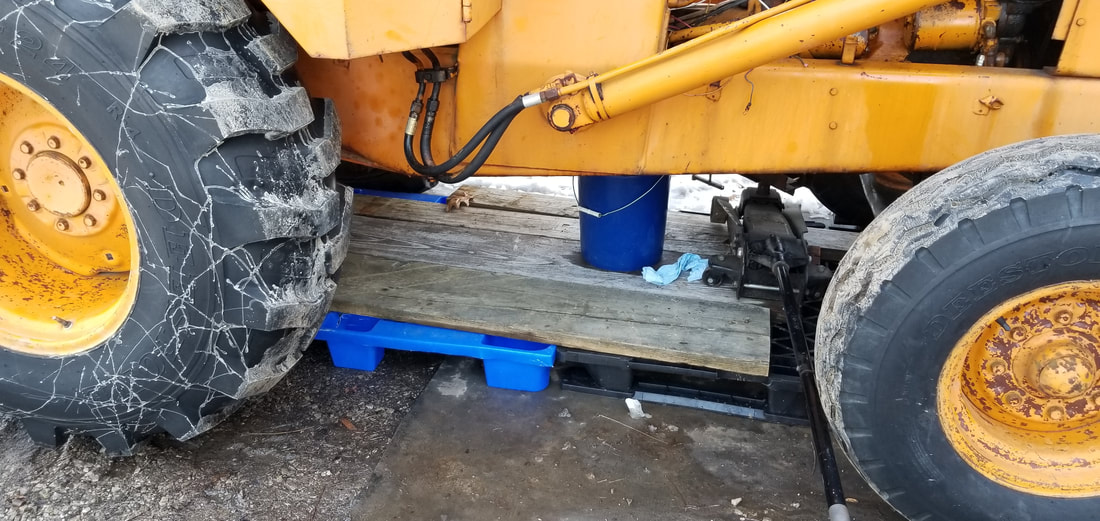
My shop is not big enough to hold the Case so I am out in the cold. I hit up a shop for a couple of pallets and I had some old 2 bys. I put the front tires on some 4x4s and lifted the rear using the out riggers. The front bucket is on the ground to stop it from rolling. The photo to the right is draining the shuttle. I have an old jack that I mounted a flat plate on to lower the shuttle.
I drain the pan into a 5 gallon bucket. I'll drain the torque converter after I get the shuttle out. |
|
Pulling out the shuttle, I removed the drive shaft. If you have it in 4th gear it will hold the drive shaft from turning as you loosen the bolts. This were having a helper is handy to put it in and out of gear. The drive shaft should slide out and set it off to one side with the bolts and nuts. Pull all the wires and if you need to mark them. The link to the solenoid is a 7/16 nut and the shaft has tow flats that are 3/8. You'll need a tappet or a thin wrench to remove it.
There are two lines to remove and the dipstick tube. The did the one right under the center and the bottom on the right. The dipstick tub was a pain.
I pull the shuttle and left the bell and torque converter in the Case. One of the youtubers talked about to pin to slide the shuttle on. That worked good. This is how. Pull the lower two bolts. Get two new bolts about 1 1/2 inches longer and cut off the heads. You can put a slice across them to screw them in if you want. Put the in the lower holes. These two rods will help keep the shuttle strait so it doesn't damage the converter or the seals going back it.
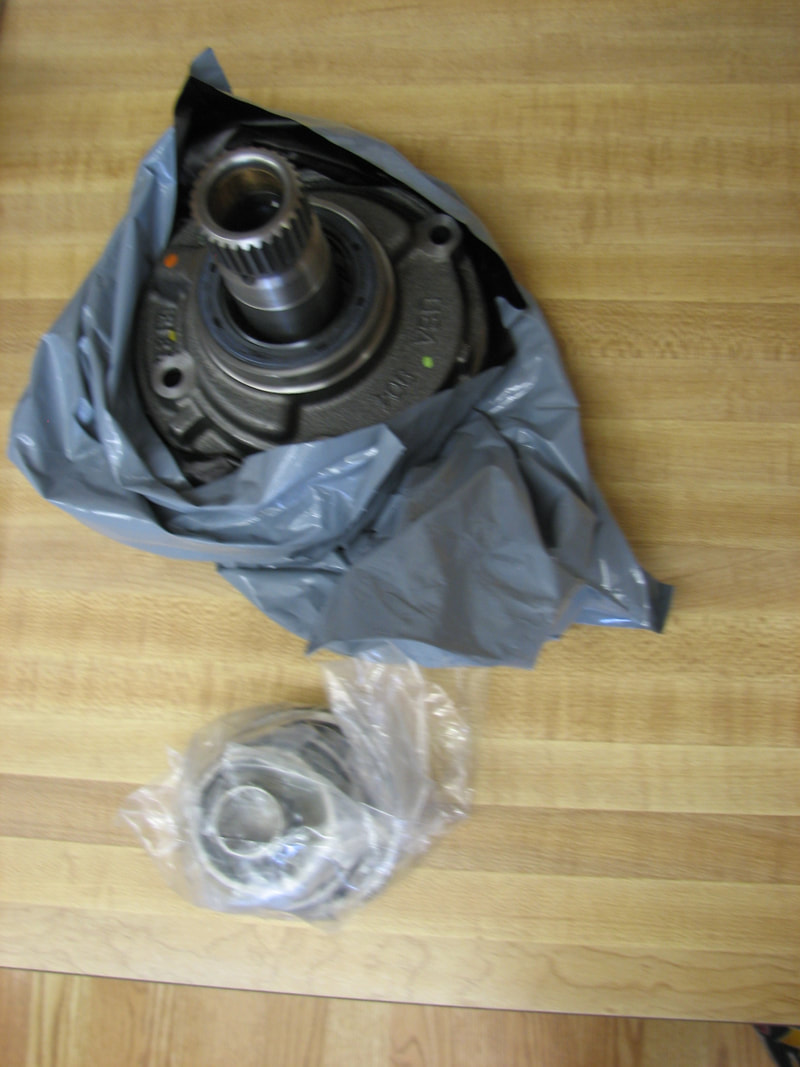
I pulled three bolts and left the fourth in but backed it out 1/4 of an inch. The shuttle slide right to the bolt. Pull the last bolt, slide it off the two shafts and onto the jack. The torque converter will leak some but nothing a shop rag can't handle.
I was really surprised how easy it came out. weight is about 60 to 70 pounds. I did this by myself. I also used plastic caps to plug hoses from E bay.
There are two lines to remove and the dipstick tube. The did the one right under the center and the bottom on the right. The dipstick tub was a pain.
I pull the shuttle and left the bell and torque converter in the Case. One of the youtubers talked about to pin to slide the shuttle on. That worked good. This is how. Pull the lower two bolts. Get two new bolts about 1 1/2 inches longer and cut off the heads. You can put a slice across them to screw them in if you want. Put the in the lower holes. These two rods will help keep the shuttle strait so it doesn't damage the converter or the seals going back it.
I pulled three bolts and left the fourth in but backed it out 1/4 of an inch. The shuttle slide right to the bolt. Pull the last bolt, slide it off the two shafts and onto the jack. The torque converter will leak some but nothing a shop rag can't handle.
I was really surprised how easy it came out. weight is about 60 to 70 pounds. I did this by myself. I also used plastic caps to plug hoses from E bay.
E bay sold by Finney Equipment and Parts
|
|
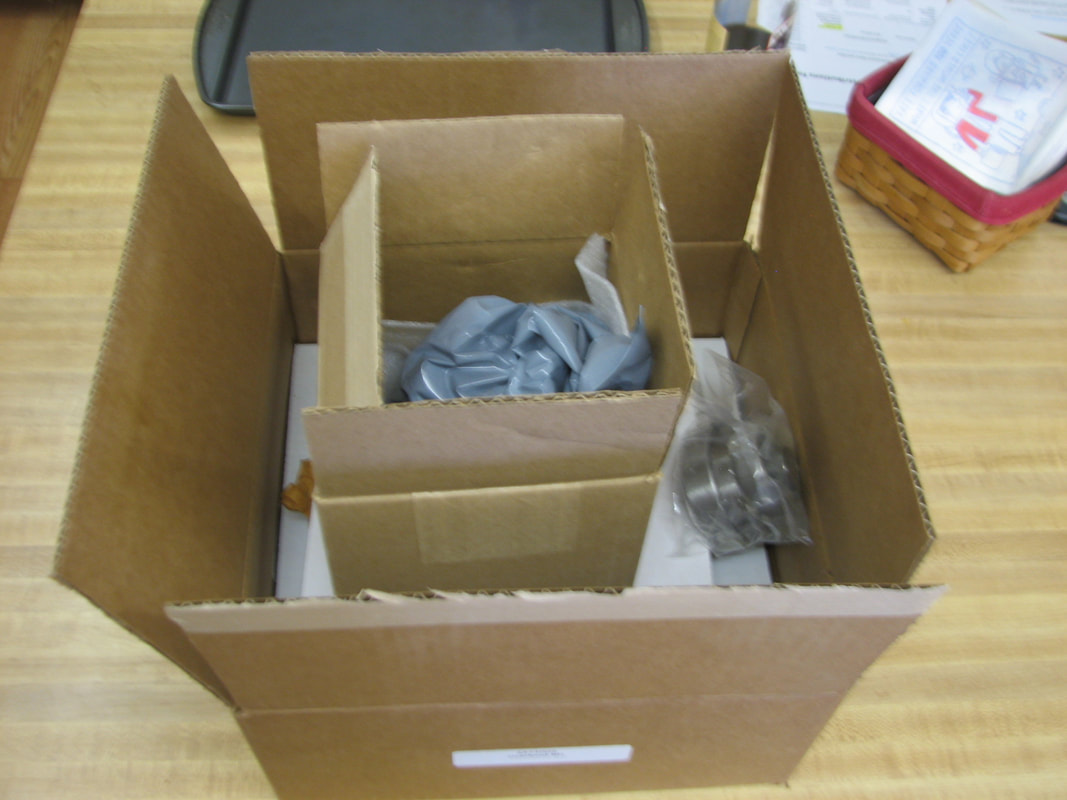
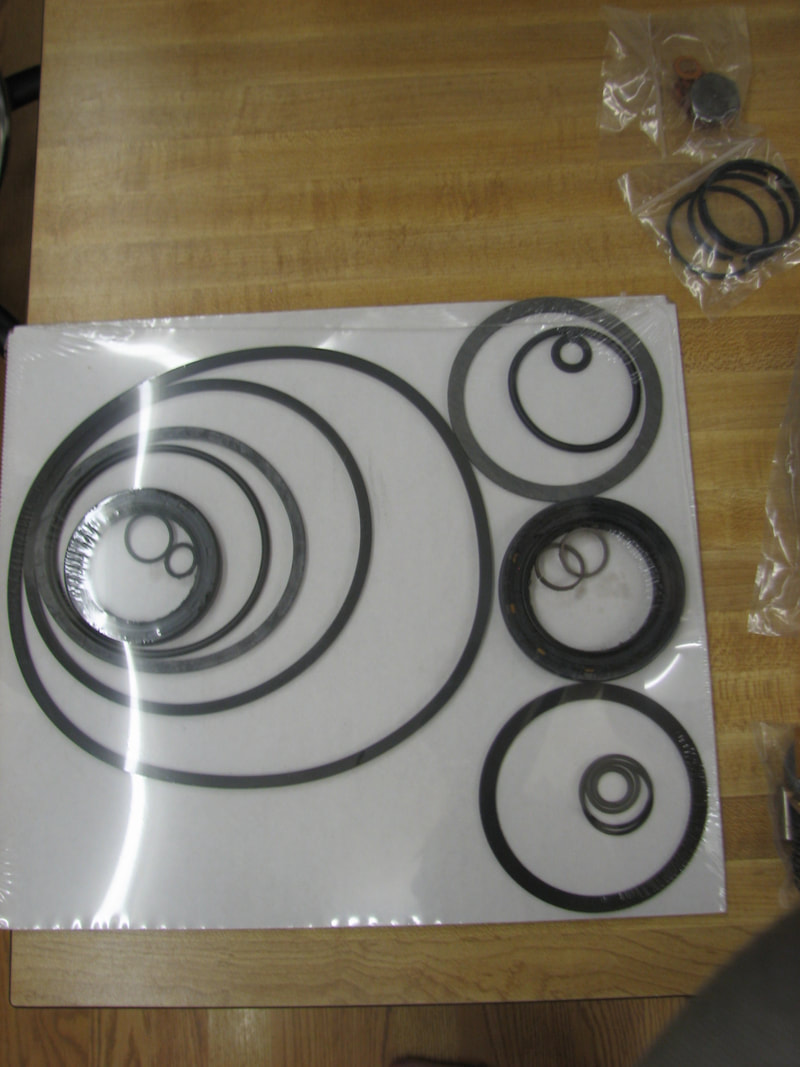
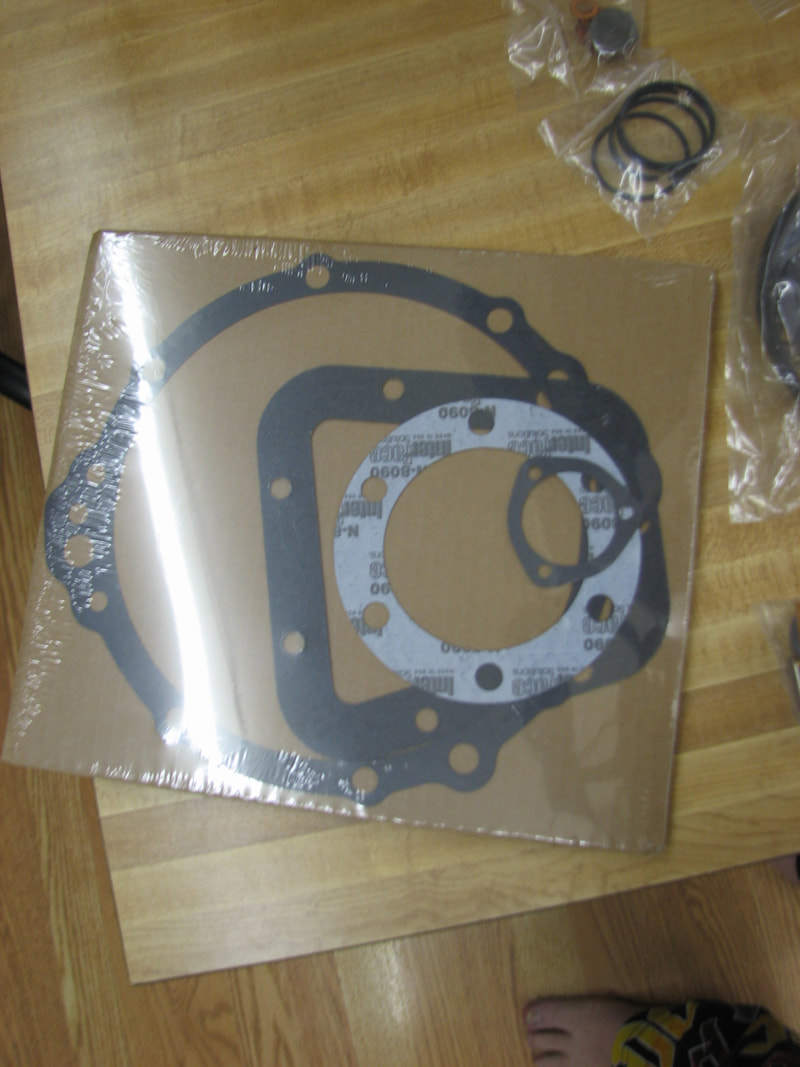
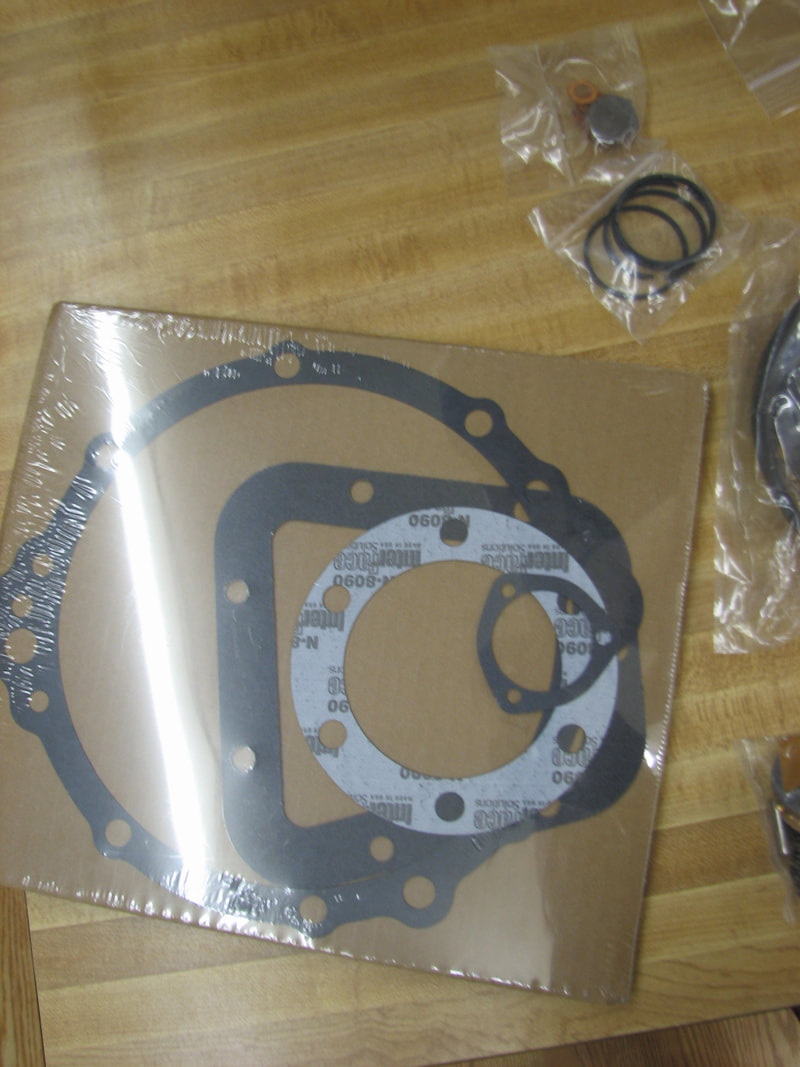
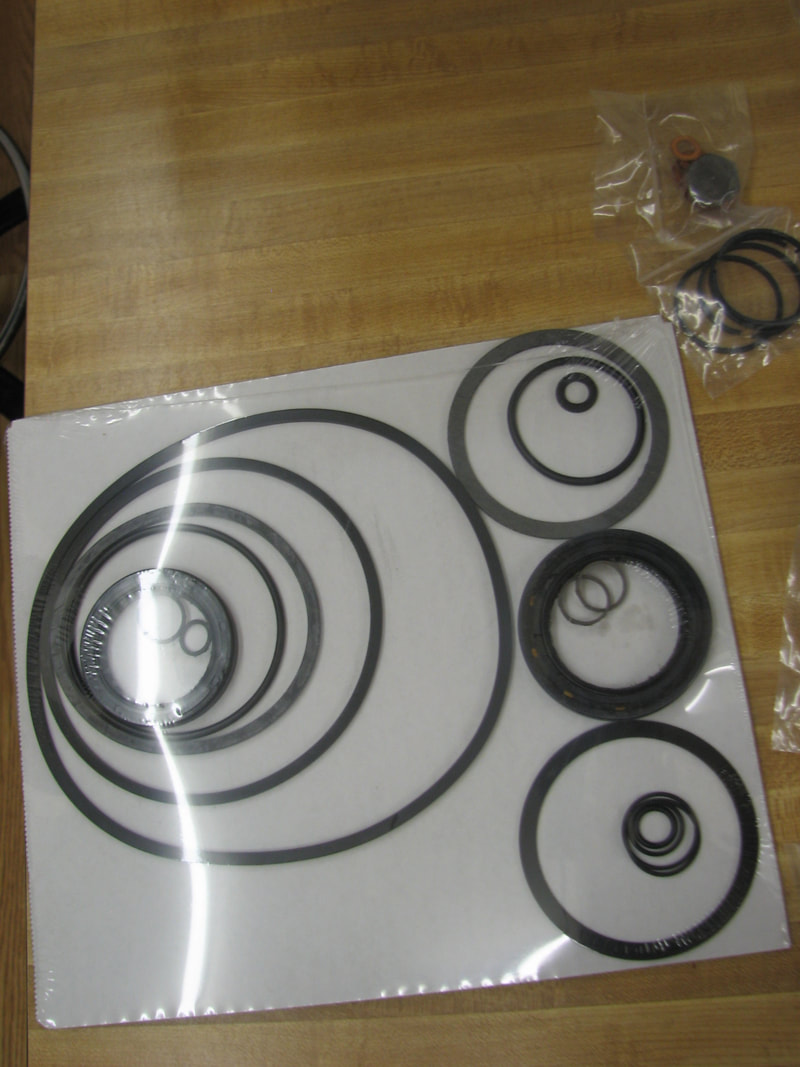
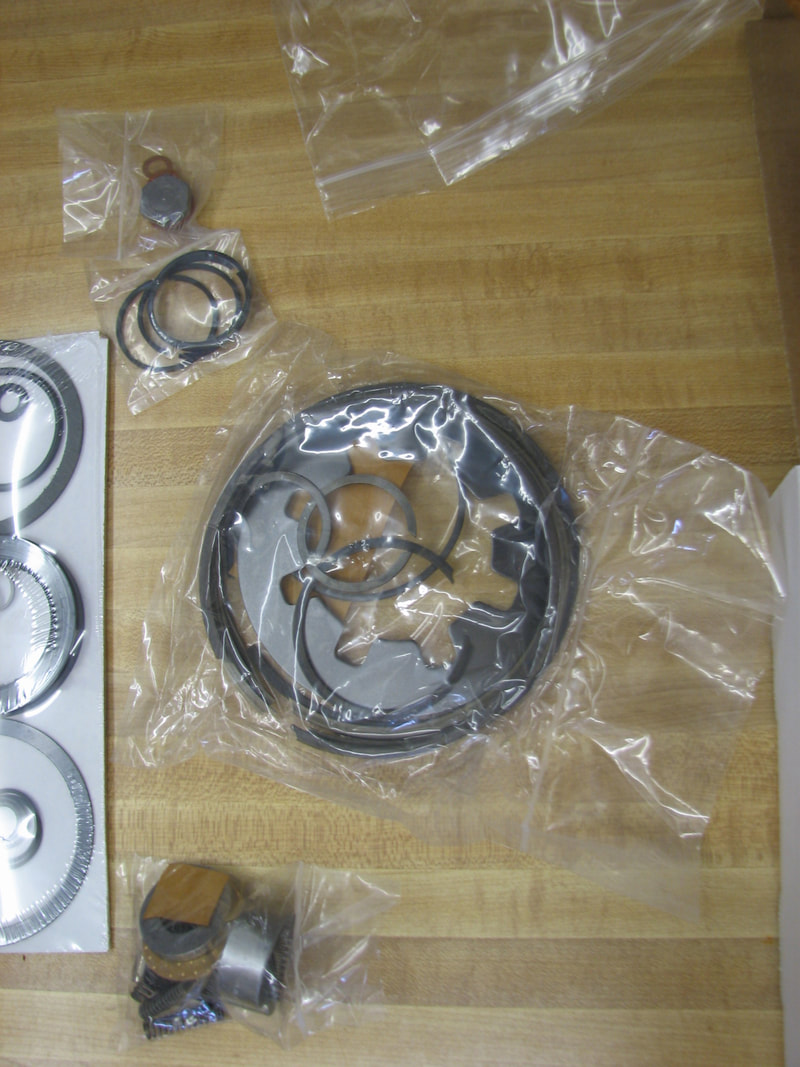
I got the parts and had to stop and add here. WOW it looks to be a complete kit! The packing was great. The 1st box you see to the left was in another box with padding. Inside all of the boxes had padding that I have already removed. What I am trying to get to is it comes well well packed.
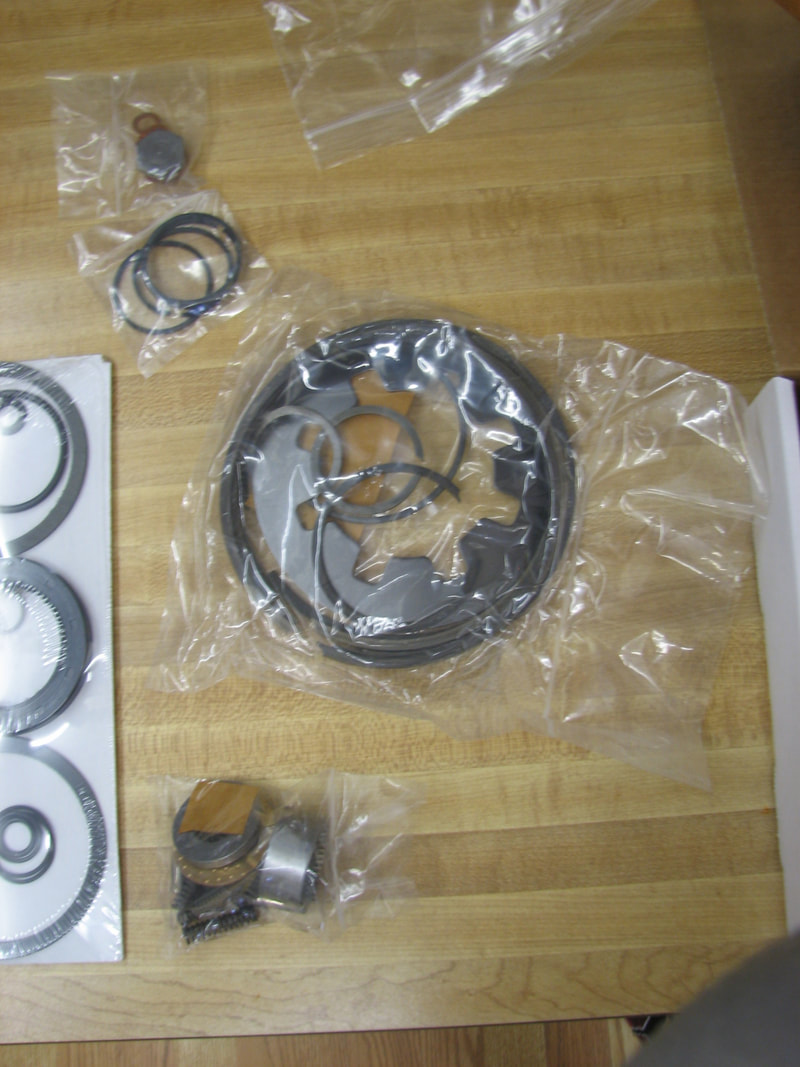
Looking though parts I was looking to see what did not come with this kit. It looks to have everything needed. The one thing I might need this is missing is the detent ball and spring for the solenoid. Yesterday as I was starting to clean, I notice this. If that is the only thing not included... I am still happy. To rebuild I took one part at a time and change the seals, springs... This worked great/ I kept all the old parts and this turned out as a good thing. One of the bushing that goes into the tail was too small and had to reuse the old one. |

|
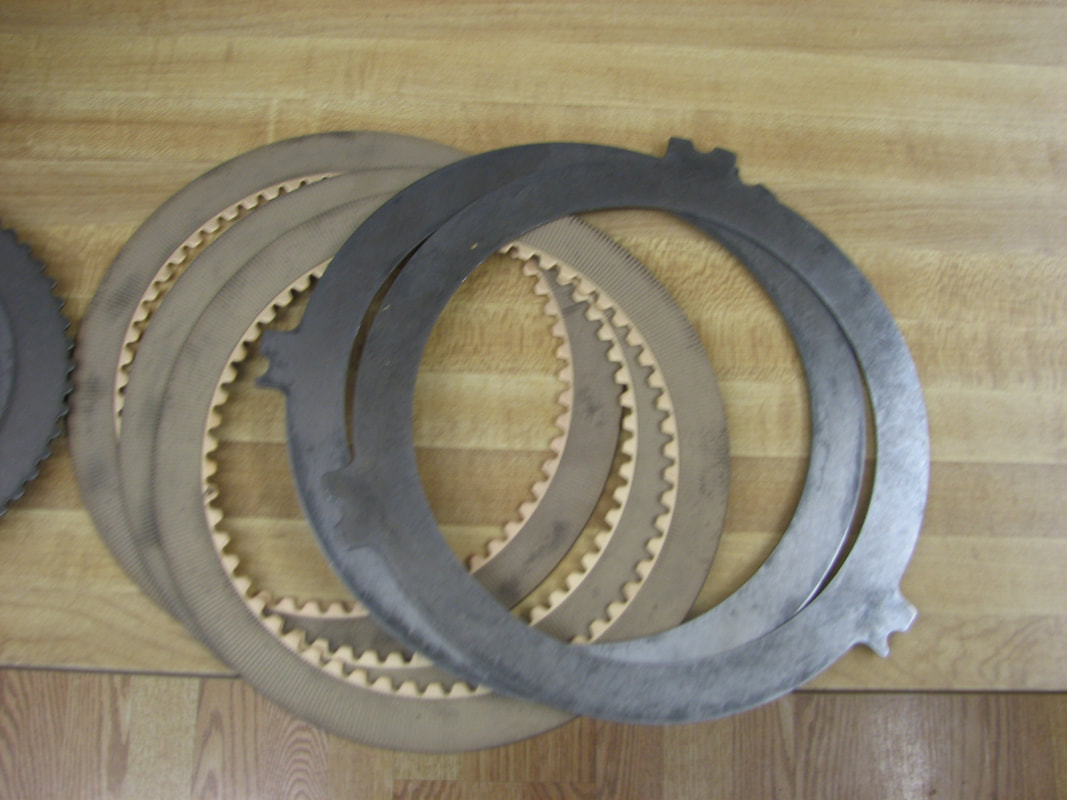
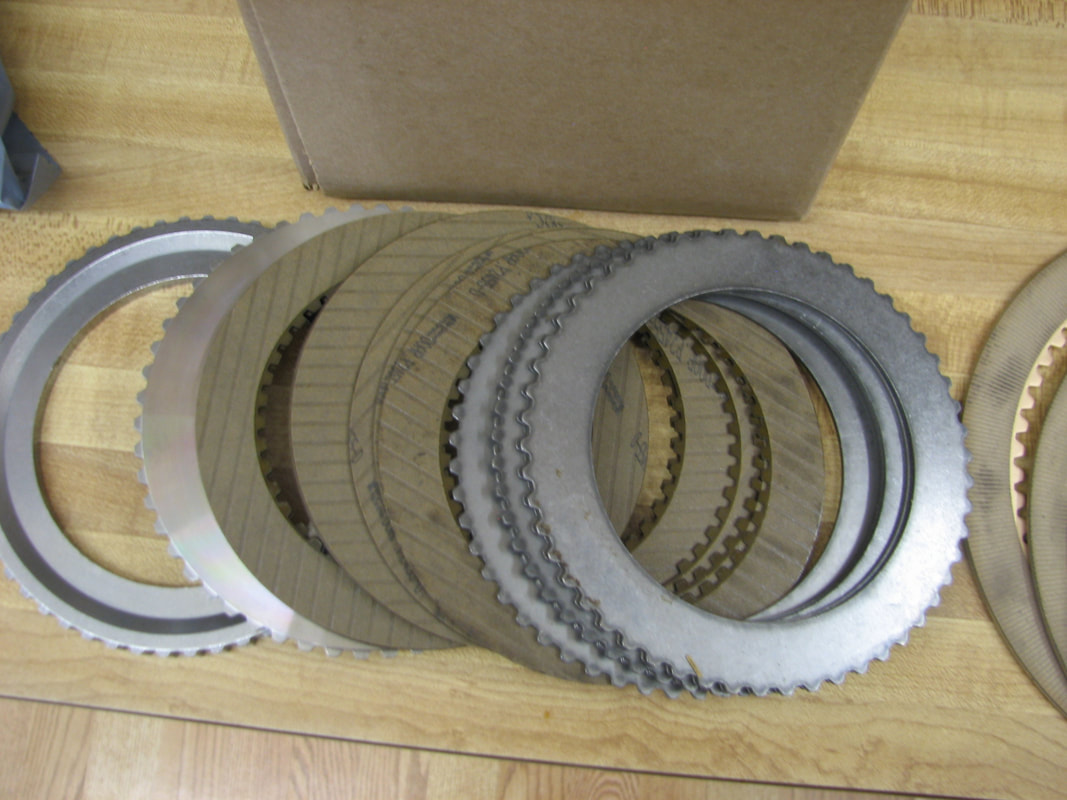
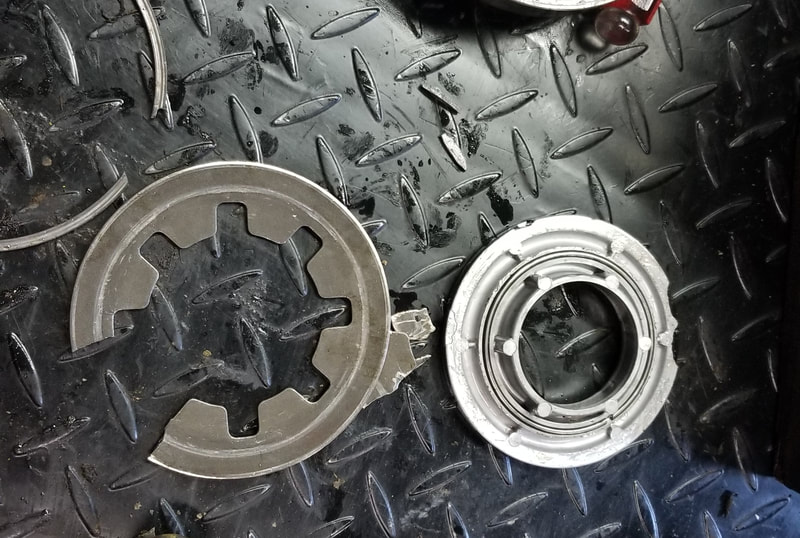
I found the forward clutch and spring broken. When I found it, I called Finney Equipment. Two days later I had the replacement in hand and I was putting the Shuttle back together. Remember to soak the new clutches before building. The missing shuttle input detent spring and ball got upgraded to a new spring and ball.
Install went quick by using two cut off bolts to aligned the install. I did replace the drive shaft bolts. First test is great. For under $700 I have a strong running backhoe. |
|
