Front Fender Work
|
I ended up with two sets of fenders
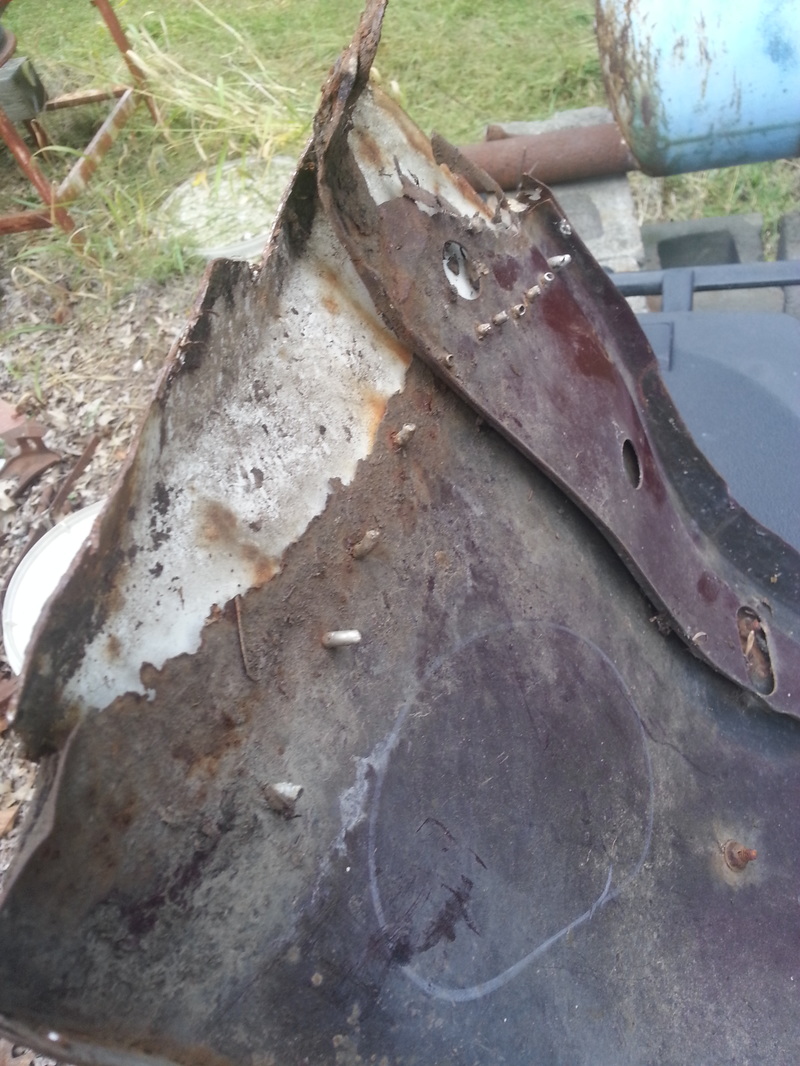
The set from the four door was a mess (upper left). Someone pop rivets and some rolled aluminum normally used for house siding to fix the lowers. There was a lot of mud holding it together.
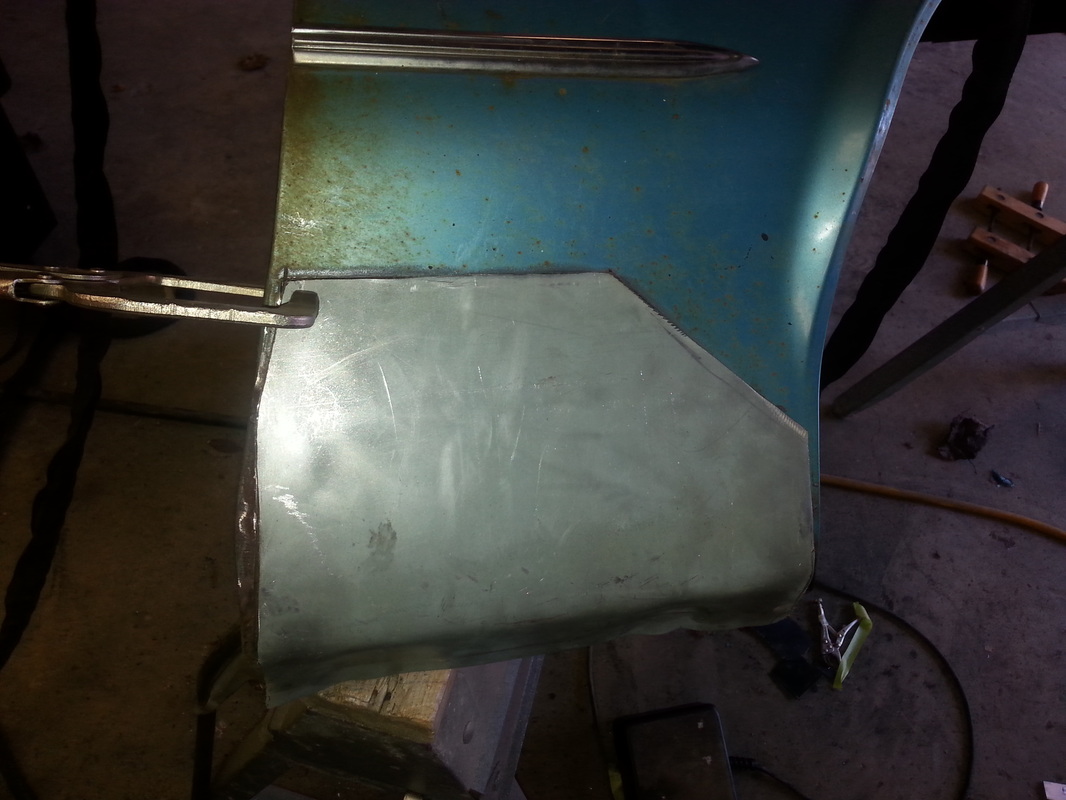
The other set I bought off of ebay. The bottoms were in poor shape but fixable with patch panels. My first try(left) worked but I was not happy with it. The tape was a plan that I didn't like. I ended up using one fender from each pair. The red one, left, got a inner support from a blue one and a patch panel. |

|
I found it funny the difference between the two
sets of fender. The inner fender for the red had 6 to 8 spot welds holding it together, the blue on
had 20 to 25.
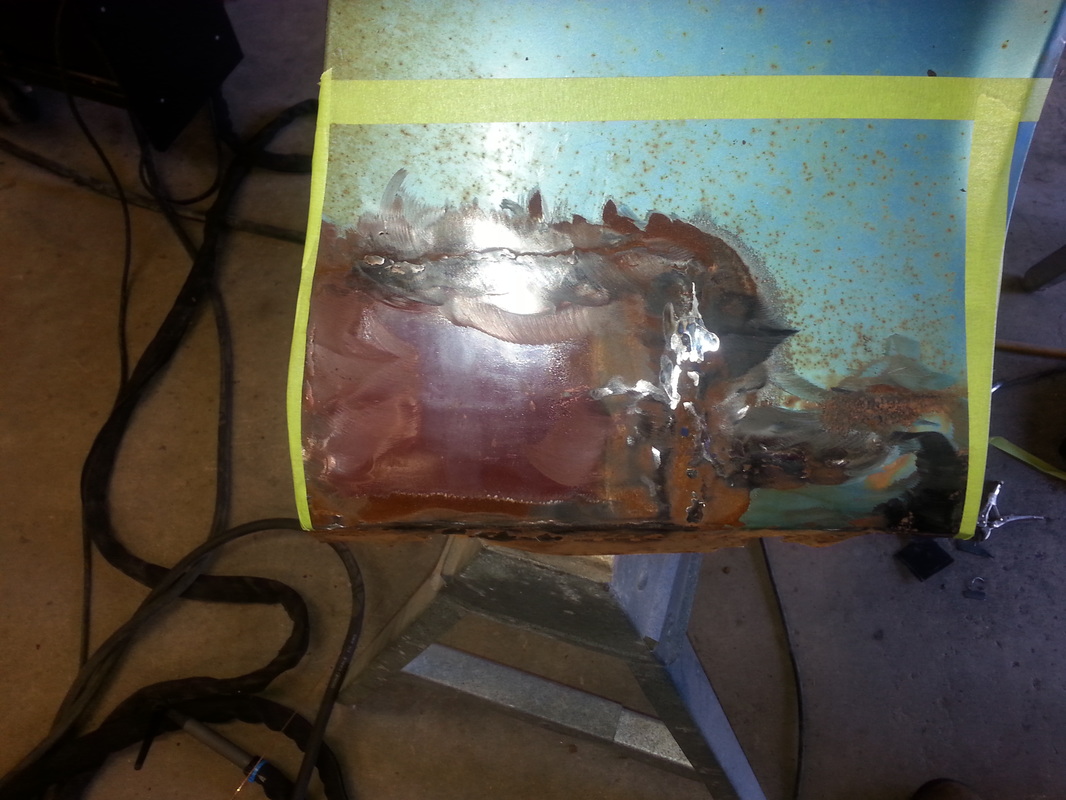
The blue fender I used a MIG, most of the photos. The red rennder I stripped and used a TIG. If you have a choice go for the TIG! Welding is so much quicker. The weld are softer too, this make it easy to hammer flat.
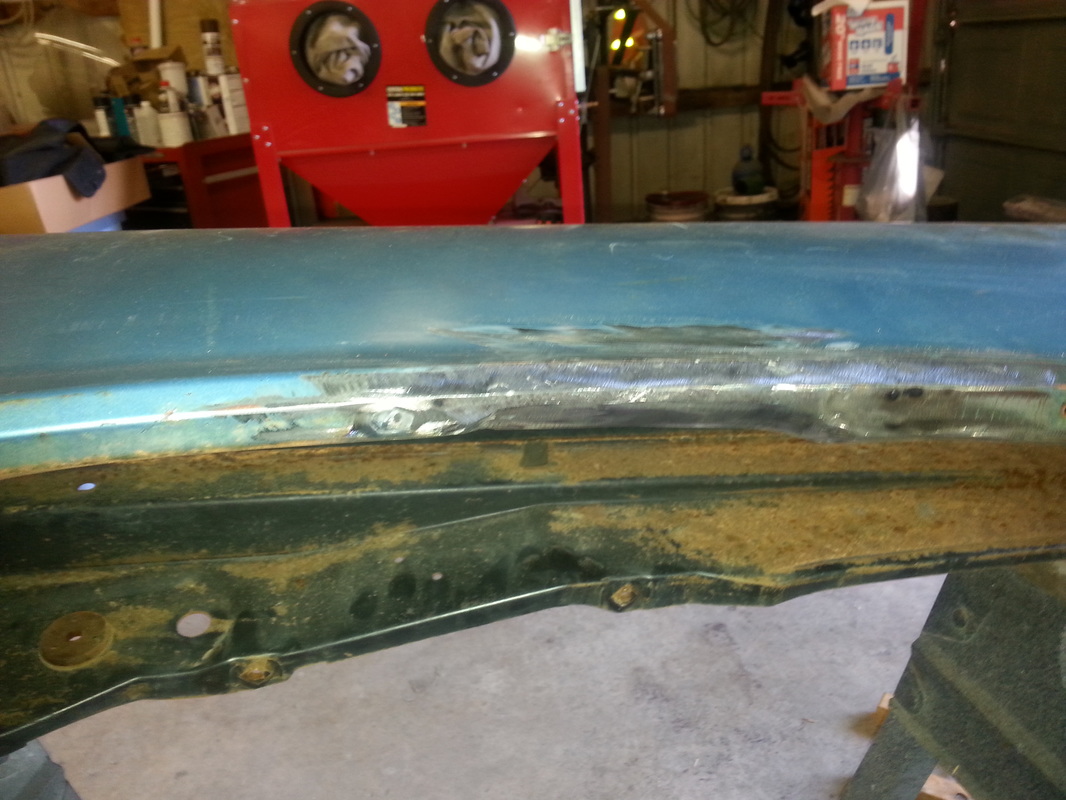
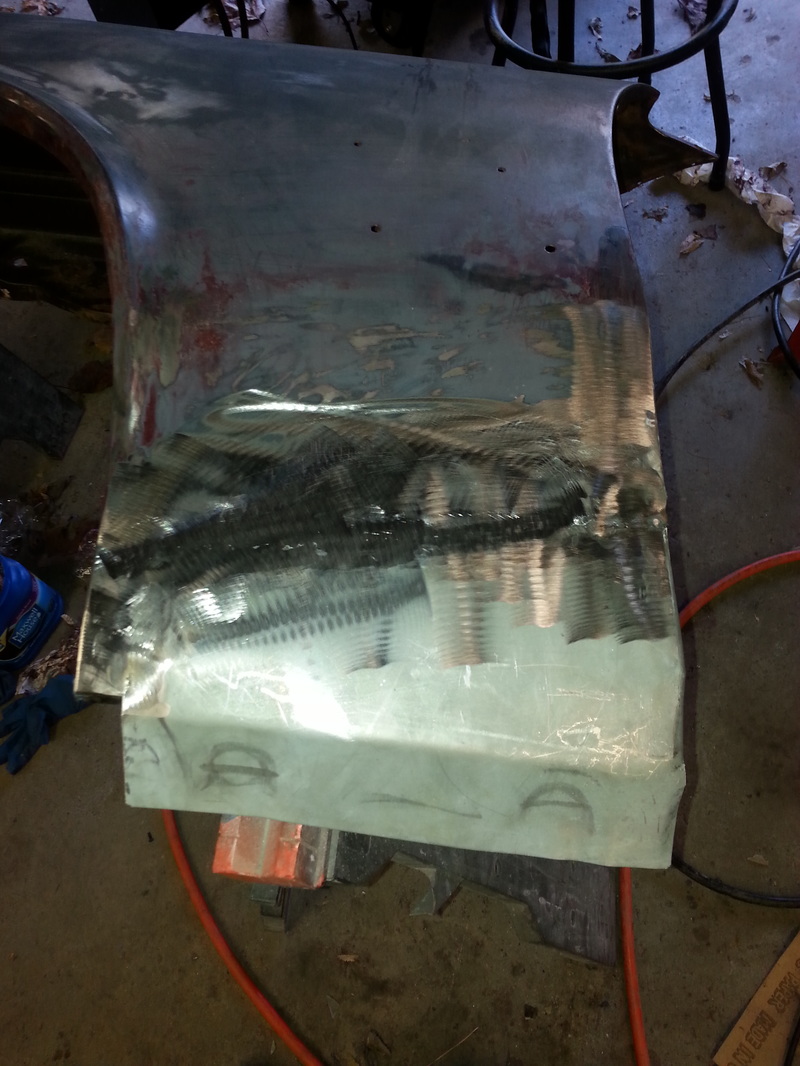
The bottom left picture shows a repair to the fender lip. What a pain. I guess water sits there and had rusted all the way though. What you see here is after two hours with a TIG and a grinder. I did have to use some patch steel.
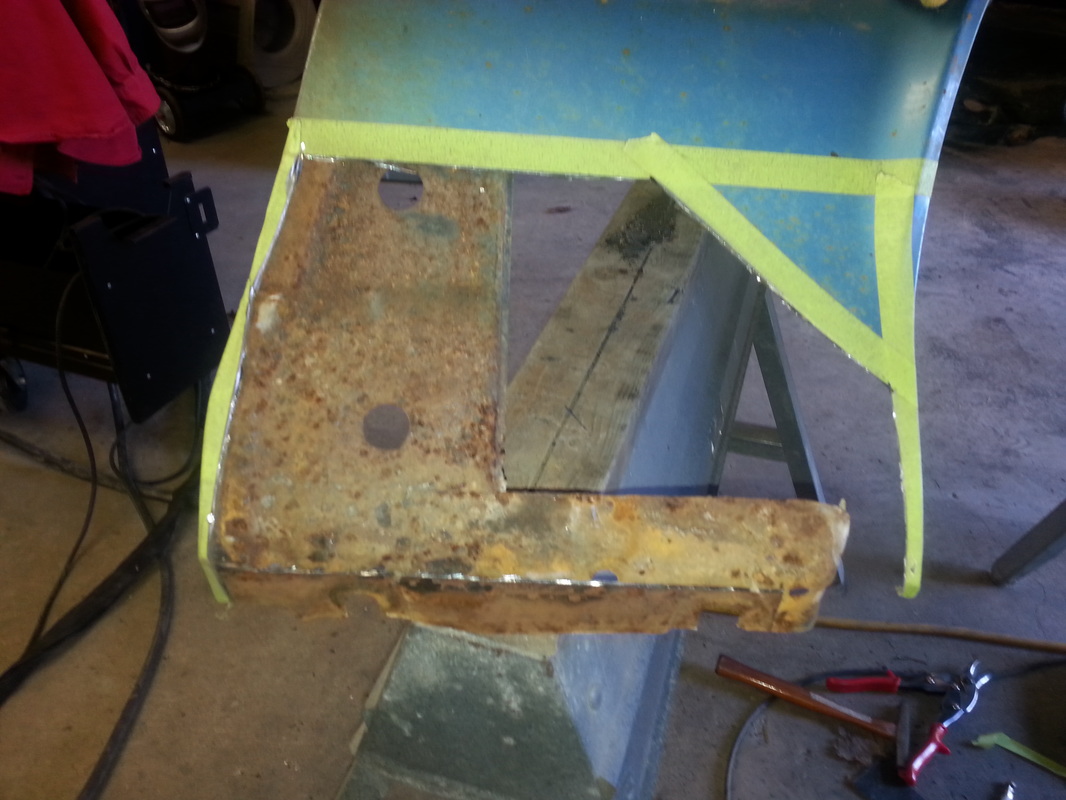
I'll get some pics of the finished repairs soon. The picture bottom right has no mud and looks pretty dam good. I still have to trim the bottom, but it is almost ready to paint and wet sand.
The blue fender I used a MIG, most of the photos. The red rennder I stripped and used a TIG. If you have a choice go for the TIG! Welding is so much quicker. The weld are softer too, this make it easy to hammer flat.
The bottom left picture shows a repair to the fender lip. What a pain. I guess water sits there and had rusted all the way though. What you see here is after two hours with a TIG and a grinder. I did have to use some patch steel.
I'll get some pics of the finished repairs soon. The picture bottom right has no mud and looks pretty dam good. I still have to trim the bottom, but it is almost ready to paint and wet sand.
